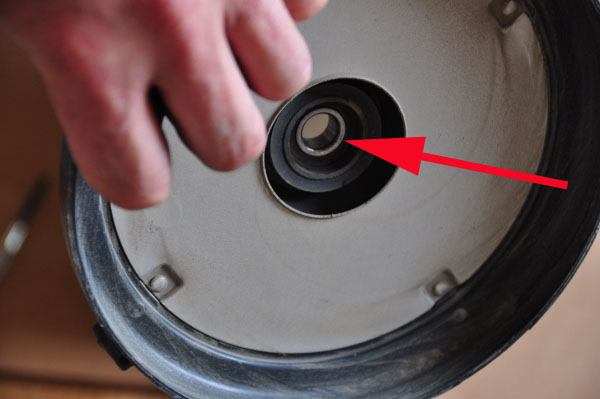
The bearing
sits in a rubber boot, which should also be removed and cleaned of rust
residue, or replaced by purchasing one from a Rexair Rainbow vacuum parts
supplier.
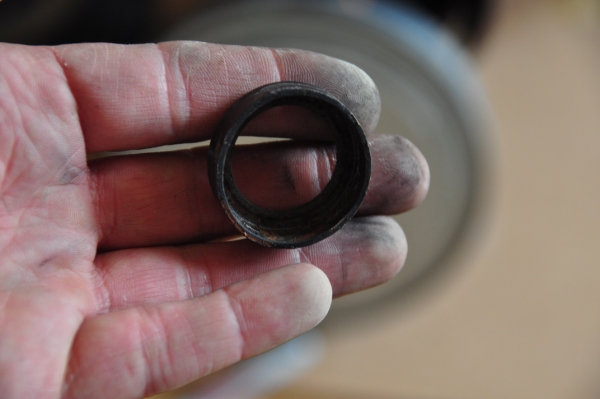
After the
rubber boot is cleaned and has fully dried, it can be replaced as shown
above. It is now ready to have a new replacement bearing installed.
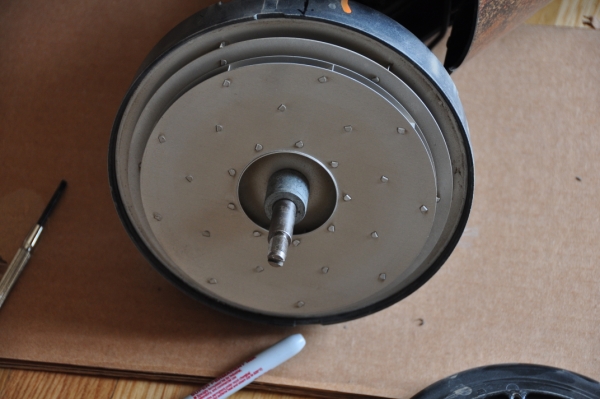
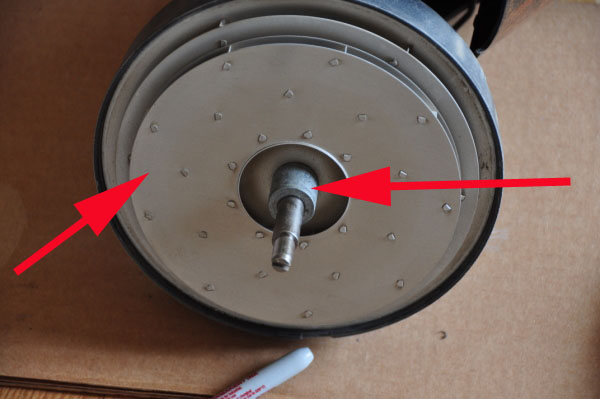
At this point,
remove the Lower Fan Spacer, and the Lower Fan Assembly. Be careful to
set these items aside in the position and order in which you removed them.
Doing so will aid reassembly.
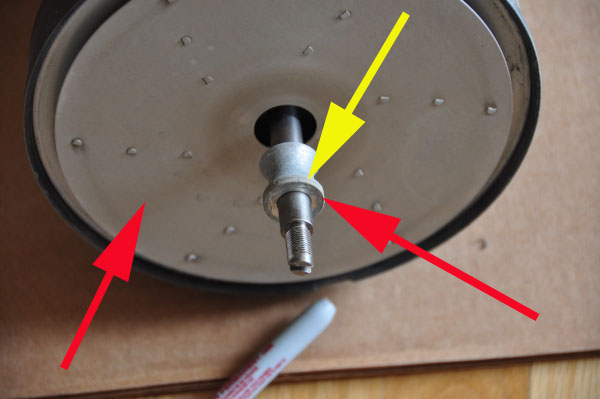
With the Lower
Fan Spacer and the Lower Fan Assembly removed, the next thing you will
remove is the Middle Fan Spacer, and the Middle Stage of the Fan Assembly.
Note the orientation of this Middle Fan Spacer as you pull it off the
shaft, and which end has the flat edge (see Yellow Arrow above). The spacers
should slide freely off of the motor shaft, but I have encountered instances
where corrosion has caused them to be stuck. There was one instance where
I was unable to remove a Fan Spacer, it was so badly stuck in place. Again,
this is probably the result of storing the vacuum for extended periods
with water still in the pan.
Copyright
2009 Thomas Penrose