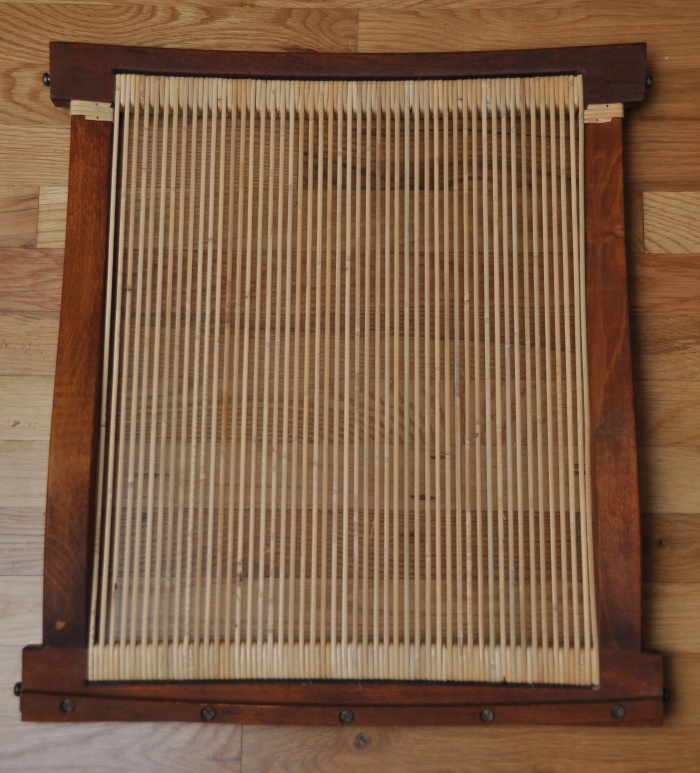
This image shows the chair seat back frame with the two initial wraps nailed in place. It is now ready for the horizontal weaving.
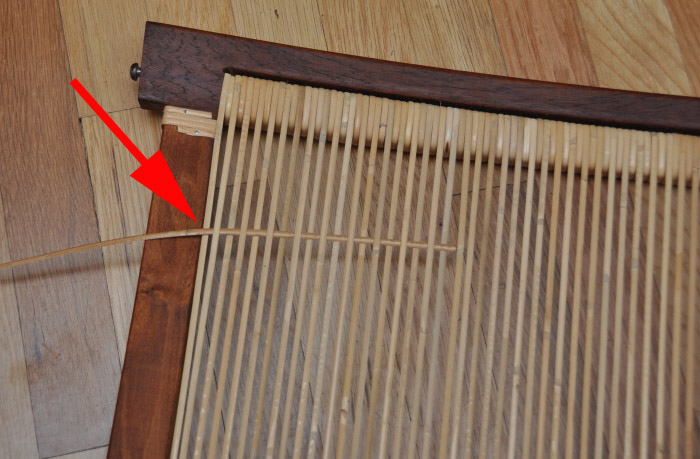
The first weave begins with the rattan going OVER the first vertical weave, as shown by the red arrow in this image. As you weave the strip over and under the verticals, you need to pay close attention that you do not do any of them wrong, since once you nail it in place and over-wrap it with subsequent weaves, you will not be able to re-do it if you notice that you messed up, because they will be locked in place by the wraps that go over them. If you do need to re-do a horizontal weave, you can only do it by removing all the subsequent horizontal weaves you put in afterwards. It could be a great deal of work and frustration.
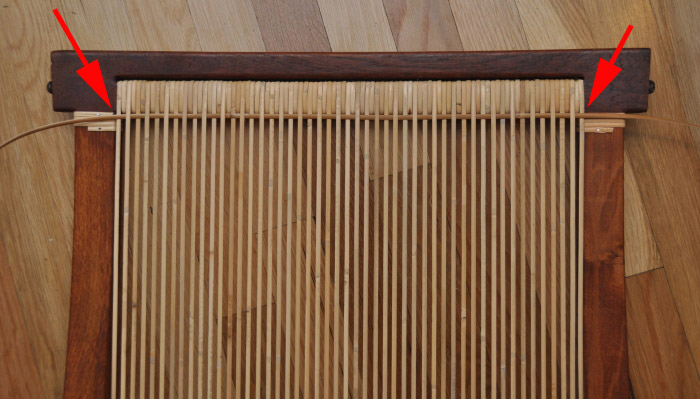
This shows the first horizontal weave pushed up into position using my fingertips to work it in place (it can be tight). Notice from the red arrows that this strip goes OVER the vertical strands on the left and right side of the chair frame. This is why it was important to have an ODD number of vertical weaves – since if you had an EVEN number, the horizontal strip would go over the vertical strand on the far left side, and UNDER the vertical strand on the far right side. We want both sides to be the same. An ODD number of vertical weaves is what allows this to happen.
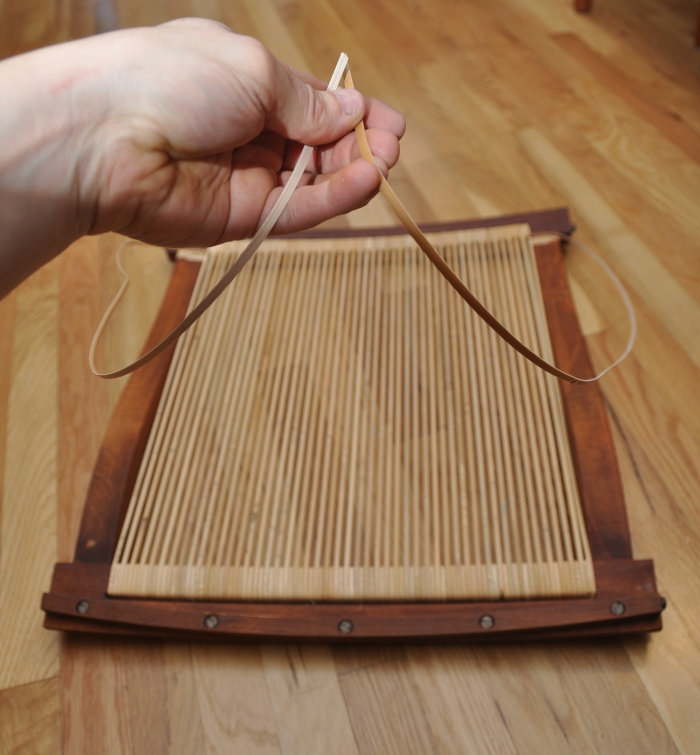
Doing a horizontal weave on a Hvidt chair takes a piece of rattan than is about 7 feet long. Once you have woven it through the verticals, you can carefully pull the piece of rattan through the weaving until both ends are the same length, as seen here. Once that is achieved, you can begin wrapping these loose ends around the sides of the chair seat frame.
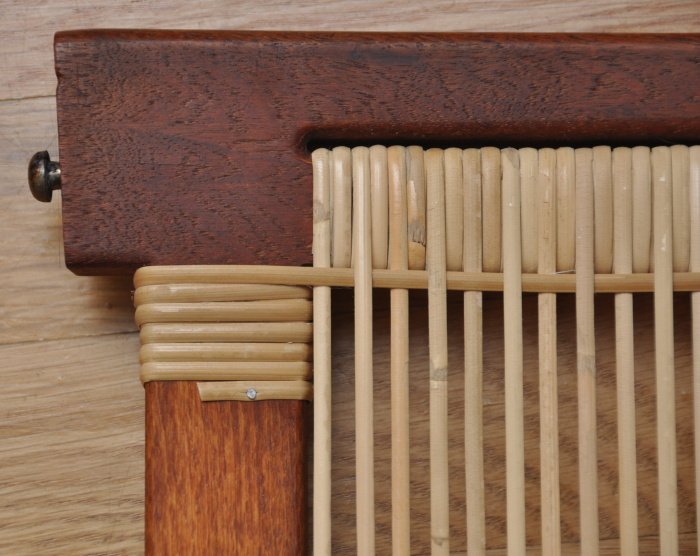
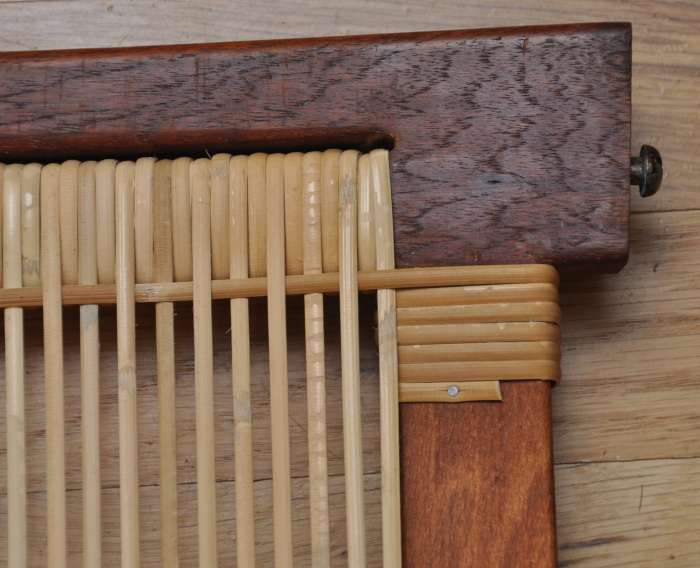
The wraps on the side of the chair seat frame are done in much the same way you did the wrapping at the top and bottom of the frame at the beginning of this tutorial. However, when you do the wraps on the sides of the chair frame, you will be adding two additional wraps compared to those you did at the top and bottom in the earlier steps. Be sure that your wraps count out to look the same as the one seen here, as there are now six wraps, instead of four.