|
| PAGE
1 -- PAGE 2 -- PAGE
3 -- PAGE 4 -- PAGE
5 -- PAGE 6 -- PAGE
7-- PAGE 8 -- PAGE
9 |
|
|
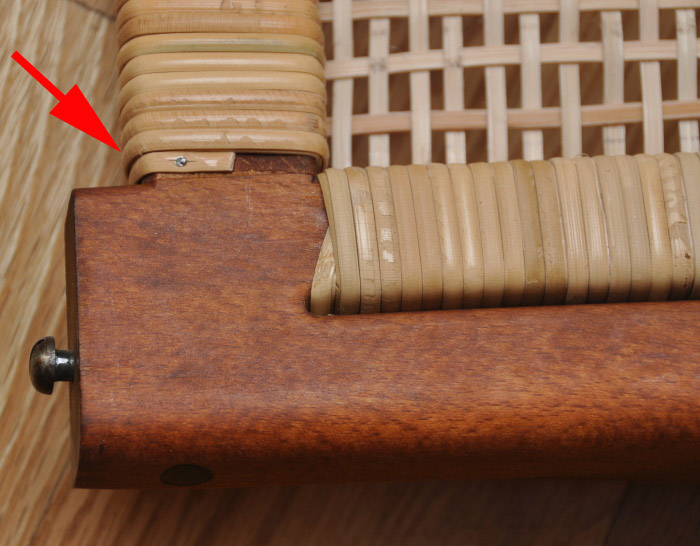 |
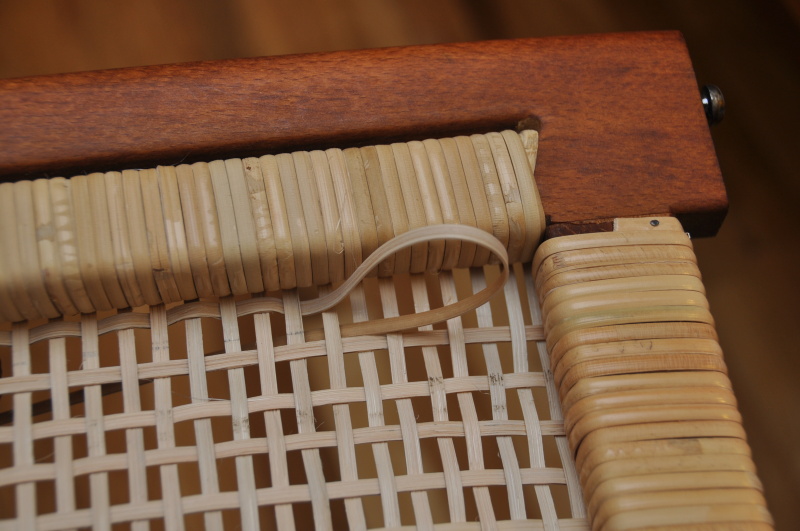
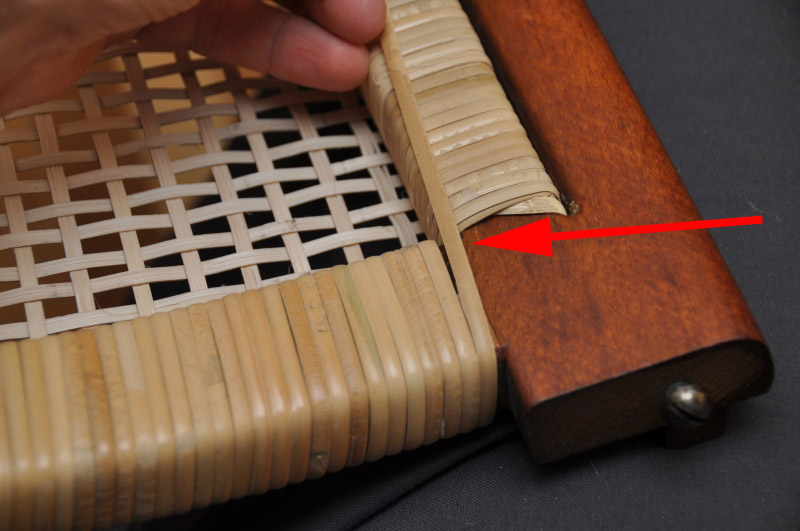
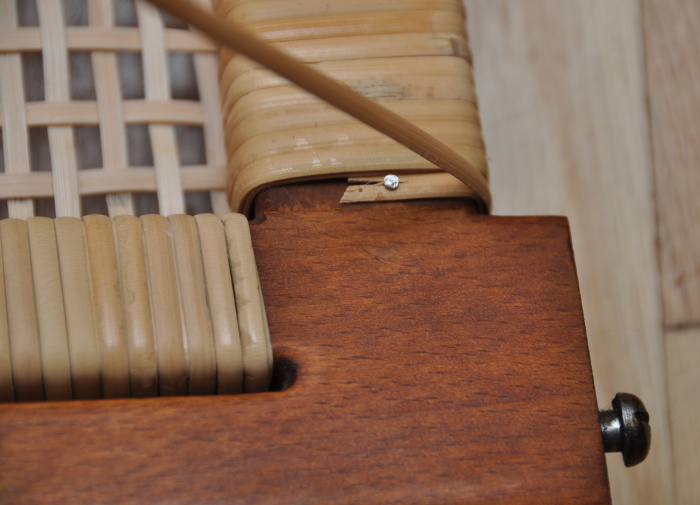
When you are doing the second to the last weave, you want to wrap it around to the BACK of the chair frame, as shown here with the red arrow, and nail it in the position shown. Ultimately, the final strand will cover this nailed in end piece, concealing it from view. |
|
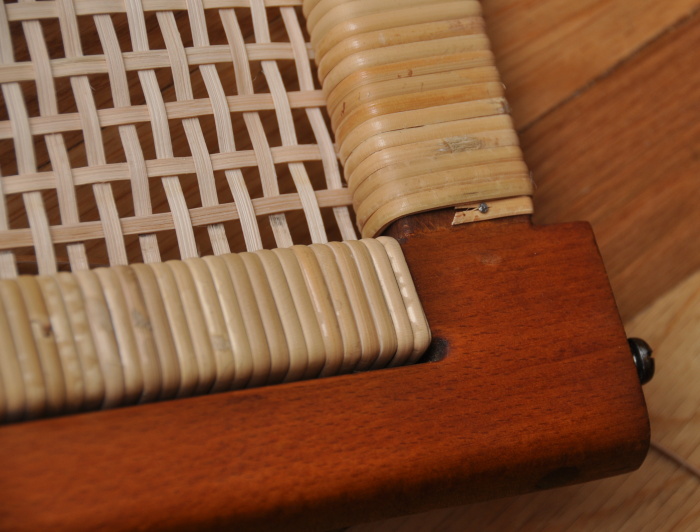 |
| The same thing is repeated on the other side of the BACK of the chair frame, with the second to the last strand having its loose end nailed in place. |
|
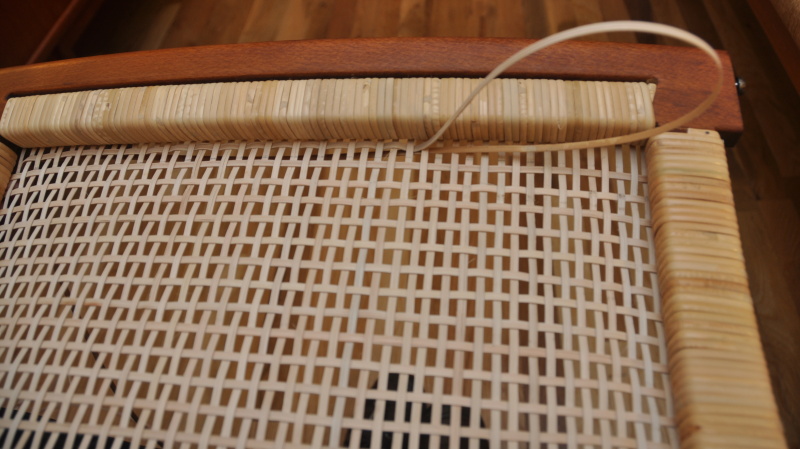 |
Doing the very last horizontal strand can be quite difficult, and you will probably find that you need to weave it through much like stitching with a needle and thread. |
|
 |
When "stitching" the strip of rattan in this fashion, it can be easy to end up folding it, and breaking or damaging it as you are pulling it through. I have found that this can be avoided if you pull the strip through in the opposite direction, as seen here. |
|
 |
| This shows the same method being used, this time on the back side of the chair frame. As I am stitching the rattan through, I alternate by flipping the chair frame from front to back. |
|
 |
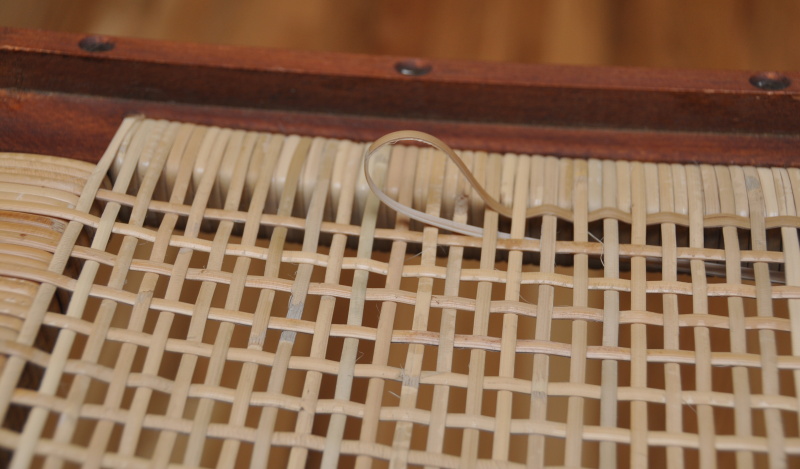
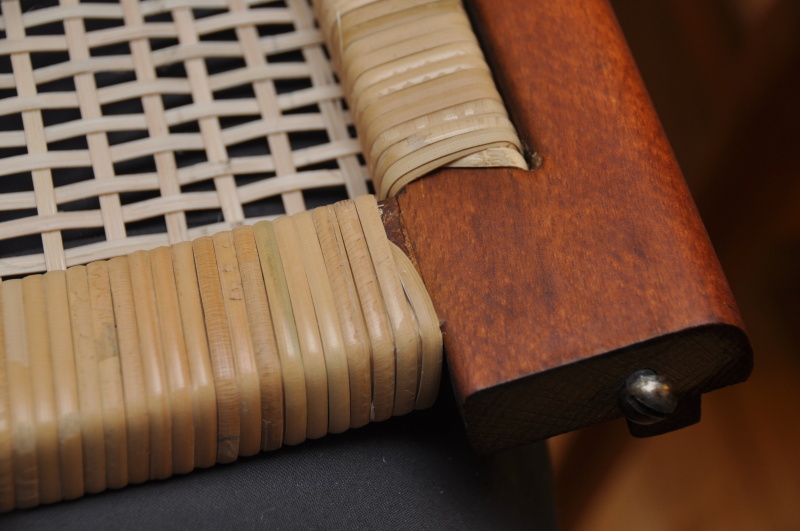
| When you wrap this final weave around to the back side of the chair frame, you will cover the end that had been nailed in place (in the first two photos at the top of this page). Once it has been stretched around the back, you can cut it at the point shown with the red arrow. |
|
 |
| After it has been cut off, you can use a pointed tool to push the rattan underneath the prior wraps, pressing it in from the side. If the prior wraps are too tight, you can loosen them a bit by working an awl or pointed tool under them. You could also add a little soap to help the piece slide underneath more readily. Try to work it under as far as you can. Once the rattan dries, it will stiffen, and lock the end in place quite securely. |
|
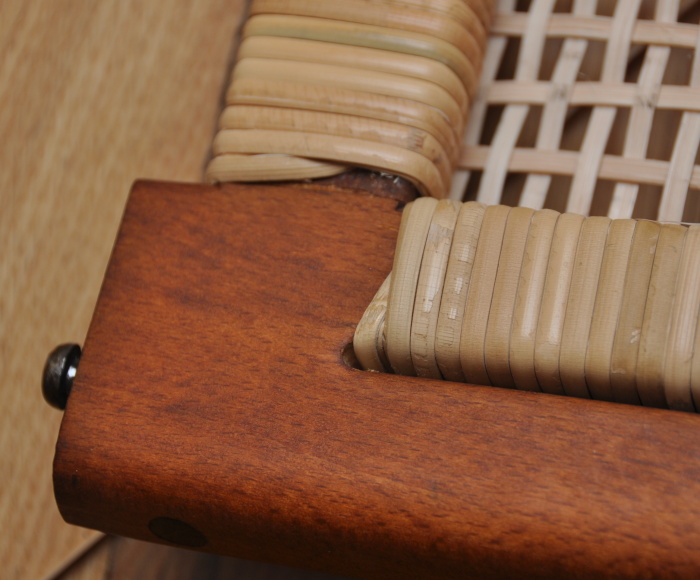 |
| Another view of the same corner of the chair, with the end of the rattan tucked under the wraps. |
|
 |
| You repeat this process on the other lower corner of the chair seat frame, drawing the final wrap over the nailed end, to cover it... |
|
|
| PAGE
1 -- PAGE 2 -- PAGE
3 -- PAGE 4 -- PAGE
5 -- PAGE 6 -- PAGE
7-- PAGE 8 -- PAGE
9 |
|
|
|
|